Pages

Showing posts with label baby. Show all posts

Sunday, March 4, 2012

Wetbags

After about 6 months of saying I need to make a few more wetbags I finally did them... a few hours and I have 3 lovely new bags. I used PUL and this tutorial for an oilcoth wristlet.  I used my own dimension, and didnt cut the top and bottom like she did- I'm not really sure what the point would be of that...


Wetbags are so handy even if you don't cloth diaper! Think swim clothes, pukey/poopy clothes etc!


I also  added elastcs so they could be rolled up and tucked in the diaper bag. It took a few tries but I got it the way I like now!

If you dont have pul, I have also made them from fabric with a shower curtain lining!

Friday, March 2, 2012

Baby Shoes

On the second try, I was able to whip up these quick booties for our new baby J.

I used the tutorial and pattern here. As printed it turned out to just barely squueze onto his 4 month feet, so I'd say the would fit a baby 3 months and under. I enlarged it 115% and they fit perfectly. They are two layers of fleece and have double elastic bands so they ACTUALLY STAY ON!!! So simple to do... I'll be trying to figure out a 6-12 mo size! and maybe even larger for E!

These I made from this tutorial for my neice... hope they fit!

Monday, January 2, 2012

This year's Christmas gifts, Part I: the littles

Being the penny-pincher... um, awesome aunt that I am, I handmade most of our gifts again this year. Here's Part I: the two and under crowd...


First up, the newest niece in the family:
 For her, we have a pretty little lovey blanket, ruffled on the front, with a ruffle around the edge, perfect for chewing and drooling on and dragging around...
 and snuggling up to, thanks to that luscious chocolate brown minky...


I used this tutorial from 2 Little Hooligans.


She also recieved a cute little tutu skirt (tutorial from Simple Simon and Co.)


Can't wait to see her wear it!


On to the boys....
 The two year old nephew got this cute little backpack (tutorial from indietutes). This tutorial has a free printable pattern, so don't be afraid to try it! It is really SO simple, especially because there is no zipper closure. The main piece is formed from two pieces that overlap so its very easy for littles to get into.
 I put some velcro on this one- I made one previously for a friend's little guy and as he used it we realized it really could use a snap or velcro if they'll be carrying "heavier" things like matchbox cars. They tend to make it gape open...
Simple little straps for the cutie pie to strap it on, and Viola! Your toddler can help carry his own toys, diaper, cup, snack, whatever!  Would make a cute little toddler "daycare bag" or just let him pretend to be all grown up with his own backpack like the big kids!


For my boys...


the plan was to have finished Faux Chenille blankets for both...but being the procrastinator that I am...They each got one of these cute little taggie animals from Make It and Love It's tutorial.  I made one as a gift for my nephew last year and thought my boys would like to slobber on one as well.
The Elephant is made of flannel and cotton quilting fabric, and the giraffe of cotton quilting fabric and minky... so soft and snuggly! 


And they have lots of little ribbon taggies to chew on!
Tune in next time for more of my Handmade Christmas!

Monday, October 10, 2011

Saturday Projects

So I've been told I am nesting since my c-section is scheduled for one week from today- Monday! To me, it feels like a mad scramble to get my to-do list finished... is that nesting?!  Anyway, this weekend I have been working on my Monkeyshiners stock (coming slooooowly along...) and also checked off a before baby project and a birthday gift!  

I used this easy peasy tutorial from Indietutes for the backpack.  

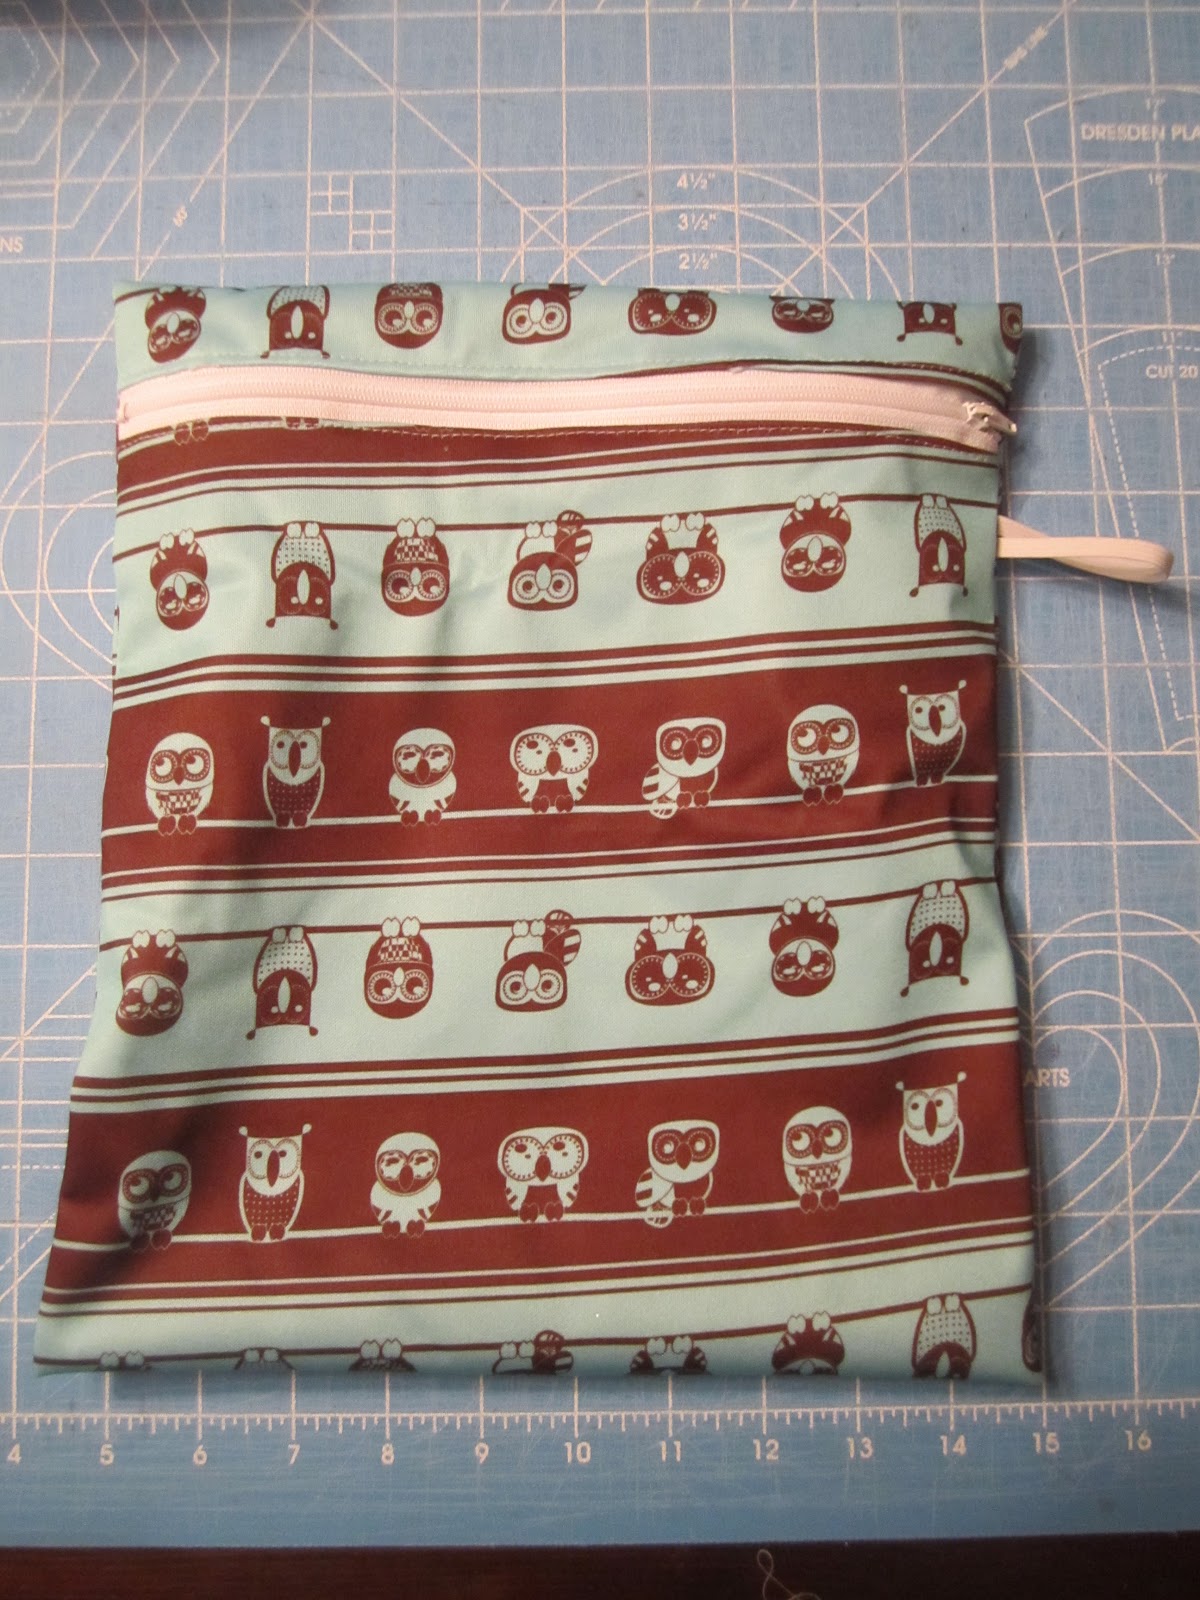
Sized for approximately a 2 year old, and no zips or anything to frustrate a little kiddo! Just that handy dandy little flap thing!
Now, the designer/author says you don't need any closure, and perhaps her fabric was sturdier than mine... mine sagged when i put my camera inside and the flap stayed open then, so i think the recipient's mama will be adding a snap or velcro and i'll be adding the same the next time.  

It is tiny, but I think its the perfect size for a little toddler and loved her suggestion about having toddler help carry his toys/sippy/diapers!  A few less things in the diaper bag is always a bonus, right?

I also was able to get the baby's carseat canopy done- I've never had one of these for either of my kids, so I'm excited to see how it compares to the old throw-the-blanket-over-the-canopy trick!
Sorry, the pictures are aweful- late at night, trying to be quiet and sneaky in the bathroom! Thus the bathrobe, potty stool, and unfinished floor...
I used this tutorial (also easy peasy!) from Sew Dang Cute. It has a nice little surprise... mine blends in a lot, can you see it?

 Peekaboo!  Cute little window to peek at the baby through or give him some fresh air!  The canopy is held on by those velcro straps, so its easily taken off to clean. 
And you can just toss it up and over the bar to get baby in and out! 

Lots of other things on my list for this week... we'll see what else I get done! These are both easy so projects if you are looking for something to get started (or get back into) sewing! Or if you sew a lot and want a quickie project (the backpack took about an hour and half!  and I'd guess the canopy was similar).

And yes, sewing your own would save you loads of money... Carseat canopies on etsy.com run anyway from $25 to &70! (Check them out here if that doesn't freak you out and you want to support a WAHM!) You can make your own for about 2 yards of fabric ($10 bucks if you aren't picky about designers!) My outside fabric is home decor that was on clearance from fabric.com and the inside is $4.44 a yard from Wally world! And that backpack is the perfect gift for a little toddler and mine didn't cost me anything! I had some leftover fabric at home- You could pick up enough fabric for less than $5 though- Joann's and Wally's have options for even less if you check their sales and remnants! So if you are as cheap frugal as I, you really should think about picking up a new hobby...

Monday, January 31, 2011

E's boots!

Mly little E is such a chub that all socks leave marks on his legs. When I saw this pattern from Sweet Pea Patterns Etsy shop for slouchy boots, I LOVED them! E is not walking yet, so no need for clunky shoes. These keep his toes warm inside and out!

The friend who graciously got E the pattern for Christmas also got a few others, so I'm excited to try them too. And 3 year old L has already tried on his teeny boots, so I'll be trying to figure these out in her size (and maybe even mommy's if i get really adventurous)!

Monday, December 20, 2010

Mei Tei roll-up

I don't usually do this many posts, but I'm having trouble with the networked blogs thing (auto posting to facebook) and wanted to test it again!

I had this little brainstorm about my hooded mei tei I made. It was feeling a little awkward to carry with all those straps hanging around, and my first move was to stuff it into a little tote bag  I had.  This worked well, but later I wondered if the hood couldn't be used to turn it into a little pouch of its own. And Viola! 
Here's the way I did it:
Start by laying your mei tei out and folding all the straps into the center.
Roll it up into the thirds (main body only).

Then wrap your hood over.


Flip it and tie your hood strings togehter to make a handy little package with everything tucked away UN annoyingly inside!

See how small and compact it becomes?!
Now if you have a purchased meitei... I guess you're stuck with the little tote bag idea.  How do you carry your carrier?

Thursday, October 7, 2010

Mei Tei Baby Wrap!

With baby E taking longer than usual to walk and crawl, we've needed some other "modes of transportation!"

We use a sling (mine's from Hotslings, via Goodwill).
A better carry for a baby of this size is the hip carry (they sit in the sling as if you were carrying him on your hip, but carry baby's weight on your shoulders through the sling instead of your arms! E, unfortunately, still has some trouble keeping his head up, so this isn't so easy yet. Smaller babies can be cradled.
And my homemade Moby wrap was wonderful since it helped calm E when he was having his 4 hour screaming fits. (The link shows a good picture, but I've seen them made with tee-shirt type material, so you don't have to sew anything.)  I have also appreciated the mei tei (Yes, I have a lot of baby carriers!). this is the one I have been using...

Much thanks to my lovely friend who lent it to me, but its not quite appropriate for Eli!  She calls it the "Easter Egg" herself! I'd been eyeing up this tutorial for a loooong time, and since E is also not so great at supporting his head yet, I think the headrest is perfect for him! It can be worn on the front for a smaller baby or in back for a larger baby/toddler. I believe you can do a hip carry too, but I haven't figured that one out yet.

Here's how mine turned out:
With almost-3-year-old L!

See how that headrest helps him out?


I did not read my tutorial closely enough, thus the 10 lines of sewing along the waist belt...

This is the inside; I used soft, yummy Minkee fabric.

Here it is with the headrest/hood loose. It can just hang, or can be tied up over baby's head for a little hood while sleeping.
I'm pretty excited and am looking forward to really trying it out one of these days! It wasn't super difficult, other than sewing through all multiple layers (the waist band has fleece inside to cushion you while wearing). Online, a good mei tei can cost you around $80-90. Mine cost about $15-20 (that's a guess, I haven't looked at my reciepts well enough...).  But a HUGE savings over a purchased one! If you want to try making your own, click HERE. These directions were fabulous; I feel like a have a very sturdy, well constructed carrier. 

Wednesday, July 28, 2010

Burp Cloth Project

So my poor E has been using thin junky washcloths and pink burp cloths for the most part to catch his spit ups!  I never got around to buying new ones! So I'm experimenting with making up some new ones (which MAY end up in the Monkeyshiners "Shop").
Obviously, I was experimenting with rounded corners vs. square.  I bought some terry and pretty moda fabric, but am not completely pleased yet.
For one thing, they seem HUGE to me... so I'm going to play with the size a bit.  I'm also not really pleased with the terry; it will be very functional, and I will definitely use up the rest without any problems, but (especially for sale) it seems to look a bit sloppy to me.  I'm thinking of chenille or (yummy!) sherpa or cotton velour...
Feel free to comment on your favorite burp cloth sizes and materials!  For baby E, absorbancy is KEY since he's still making quite a mess sometimes. But I would LOVE something super soft and yummy to touch.  And he deserves something pretty (but boyish!) too!

This is another way you can save money if you sew at all... a yard of terry cost me 5.99 at my local quilter's shop and the Moda fabric was 6.99 (though I added a bit more of the other print to embellish- Wouldn't be necessary though, and probably will not happen on the rest); With this super-huge size I tried first, I was going to get 9 burp cloths, so as they shrink that number goes up! I'm pretty sure they'll end up being cheaper than a pack of burp cloths anywhere.  And its definitely not a difficult project:  Sew straight lines, turn and top stitch (in straight lines!)

Stay tuned for more in my burp cloth saga (when I finally decide on my next fabric choice...)