
My girlie was invited to a Princess birthday party a few months ago, so we made a few princess things for her to wear. Unfortunately she got sick and wasn’t able to go, but was still excited about the new things, like her Cinderella dress!
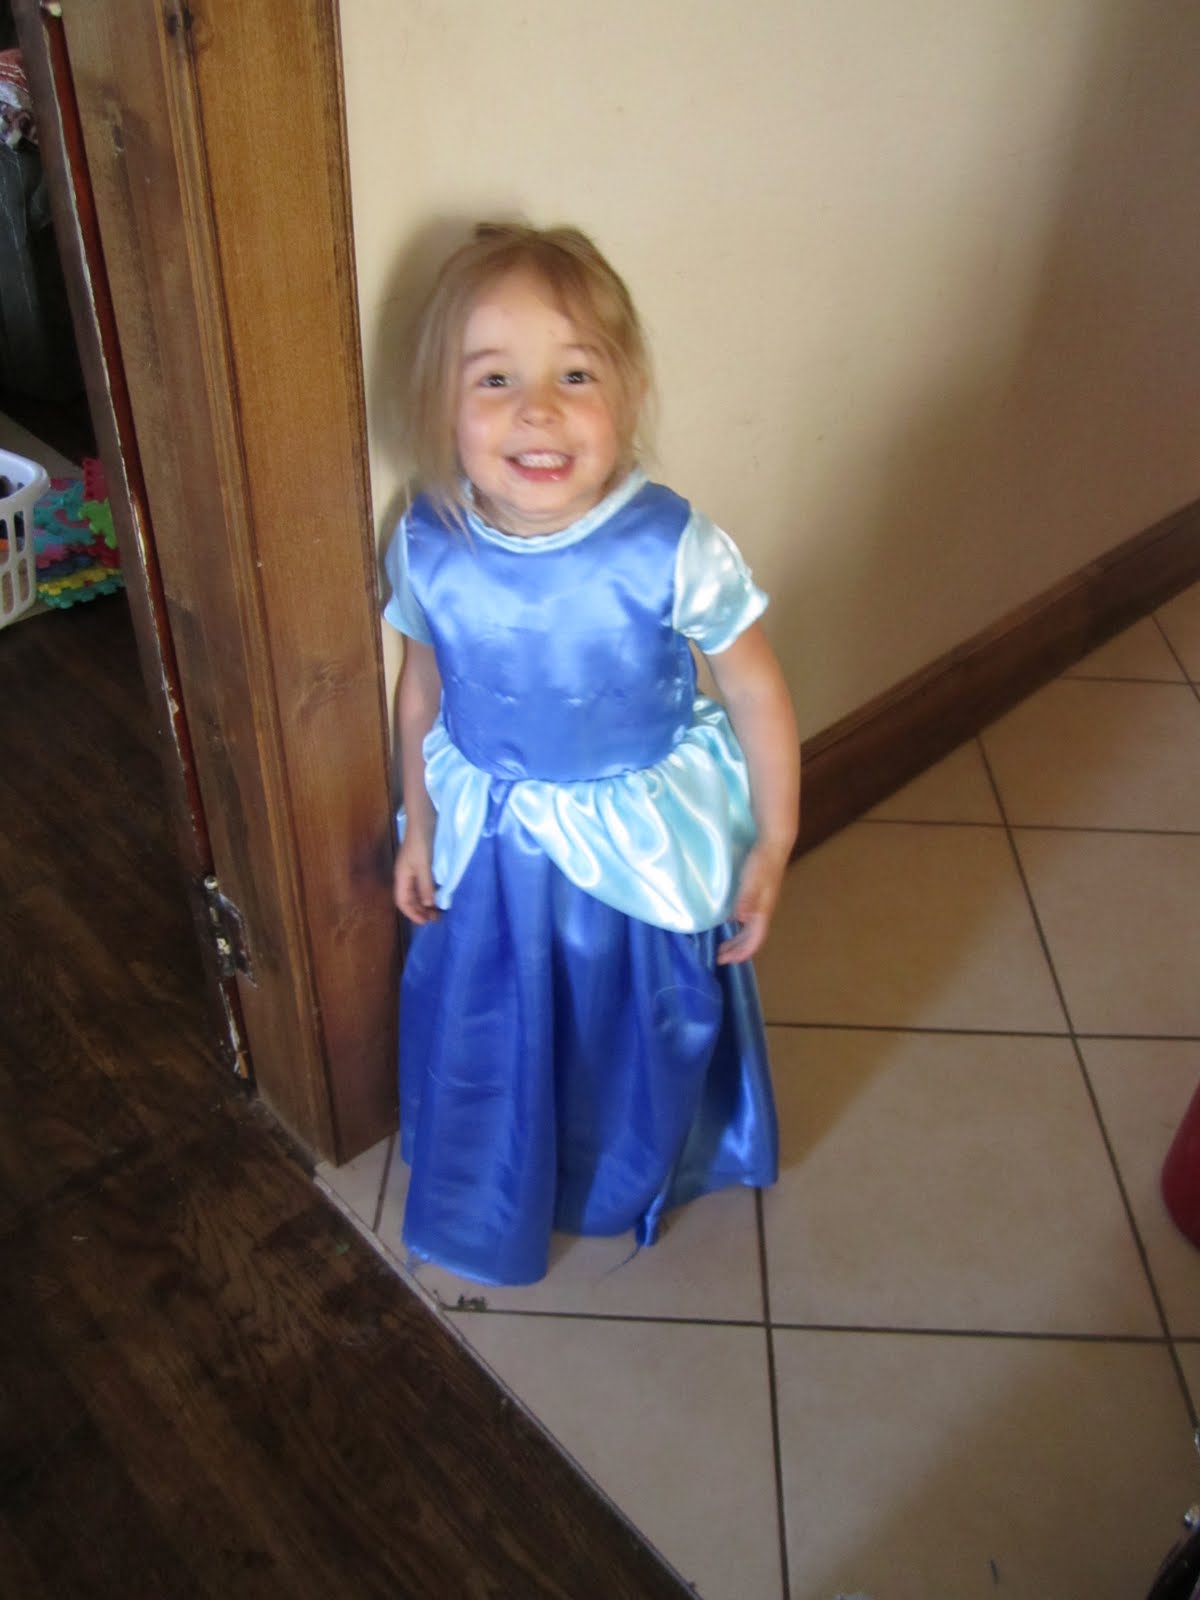
I used this tutorial, though hers is perfectly done and much more detailed. (If you sew your own children's clothes, you should definitely check out her site! Awesome tutorials!) There are a few details I wish would have come out better, but for a first try, I’m pretty happy, and of course my daughter is thrilled. We also did a hooded cape (every princess needs a hooded cape right?!).


For my nephew’s birthday we made him a superhero cape.


For my nephew’s birthday we made him a superhero cape.
 |
| For some reason i didn't get a picture of the birthday boy... but here's Eli modeling it! |
So simple! I tried my hand at freezer paper stenciling and love it! I’ll be trying more of that! Who knew freezer paper could be so handy!
There are several tutorials out there if you need better instructions, but for simple directions see below. If you don't sew, i've also seen tutorials for making them from an extra large tee shirt: you could just cut a big panel out of the back and cut so you leave the collar intact- tee shirt knit doesn't fray so no sew!
 |
| Don't mind the crazy mess... |
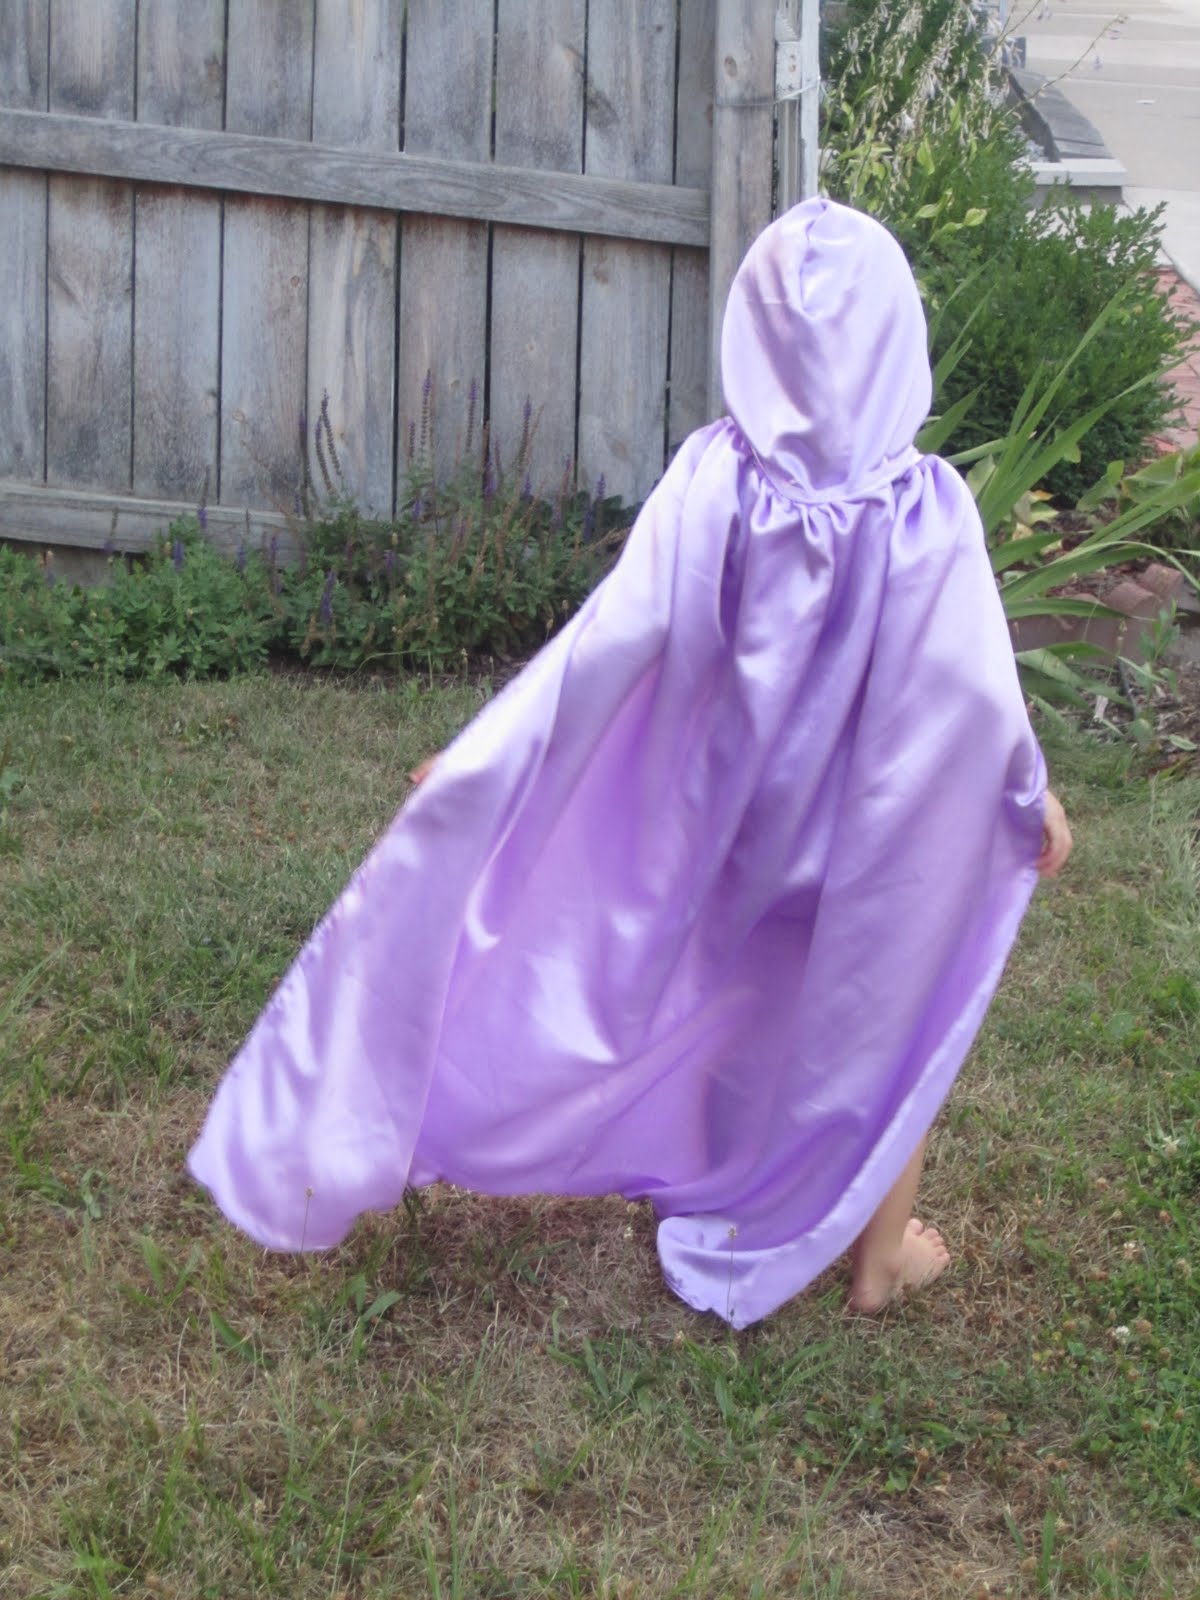
I also made one for my girlie, more fabric but almost simpler since its reversible and i didn't have to do all the ironing to double roll the hems around the whole thing.
 |
| mmm. yeah ditto on the mess... |
To Sew your own...
Basically I just hemmed a large rectangle on the sides and bottom, sewed a gathering stitch across the top (set your machine to the longest stitch and don’t backstitch to set the first or last stitches). Pull on one of the threads to gather it, and then sew on a neckstrap. I made mine about an inch wide, so I cut my fabric 4 inches wide by the length I needed to go around a child’s neck (add seam allowance for both ends). I ironed it like bias tape, ironing the long sides into the middle and then in half again, ending up with a piece 1 inch wide by the length you needed. Tuck the raw edge of your cape into the middle and then sew the sides of the neckstrap to catch it in the fold. Add Velcro or a snap or whatever to close. You could use ribbon for ties, or a button and loop if you are wary of snaps and Velcro. I used Velcro for easy off/on.
For the reversible one, just cut two pieces the same size, sew the sides and bottom together (right sides together) then turn it right side out and top stitch (sew around the edge about 1/8 to 1/4 inch from edge. Follow above to add the neck strap.
Those capes are adorable!! Wish I could sew! hhaha!!
ReplyDeleteMichellesCharmWorld
Oh michelle, they are seriously so easy! You could definitely do it!
ReplyDelete